“I want to throw this damn thing out my window!” That was one of the first things I said to my friend after taking his advice to transition from a Canon Powershot sx530hs(point and shoot) to a DSLR(A semi-pro camera). The Powershot was one of my first cameras, and in some ways, my very first, because I’m not entirely counting my iPhone or those little cameras that fit in your pocket. With my iPhone and those little cameras, I never considered myself a photographer. I had the phone for communication and internet, and the little cameras were just something I used to capture snapshots. One photo in particular, which I snapped with my iPhone, I fell in love with, because it was just before sunset, which I would later learn is a great time for outdoor portraits. If I still had that photo I’d post it here.
Back to the powershot, and one sentence closer to the point of this post…
With the powershot, I would take pictures and wonder why I was getting different results with the same subject, same distance, and same lighting with only a few seconds between shots. That’s because I was shooting in auto mode. In auto mode, the camera reads the scene and adjusts settings on its own before the picture is taken. I was not in control. The camera was. I wasn’t even aware of auto vs manual. I had a camera with a lot of settings. That’s all I knew.
I would later learn about the exposure triangle. This consists of…
- Aperture
- Shutter speed
- ISO
In auto mode, these settings are determined by the camera’s brain. I will try to explain the exposure triangle as best as I can.
1.) Aperture
Stand in your bathroom and look into the mirror. With the lights on, your pupils are smaller than they’d be without the lights on. Turn the lights off, wait a couple seconds for your eyes to adjust, then quickly flip the lights back on and you will see your pupils go from large to small as they adjust to the change in lighting. If your aperture is wide open, you will get a bright image. If it is very tight, you will get a dark image. Aperture on your camera is defined by numbers. The bigger the number, the smaller the aperture, therefore the darker the image. The smaller the number, the bigger the aperture, therefore the brighter the image. If this confuses you, think like this: Opposites. Small number=bright image. Big number=dark image. Aperture also affects depth of field. If you have a big aperture, and get up close to your subject, then everything behind your subject will blur, creating the bokeh effect, which is great for portraits. And the further behind your subject something is, the shallower your depth of field, or, the more blur you will get.
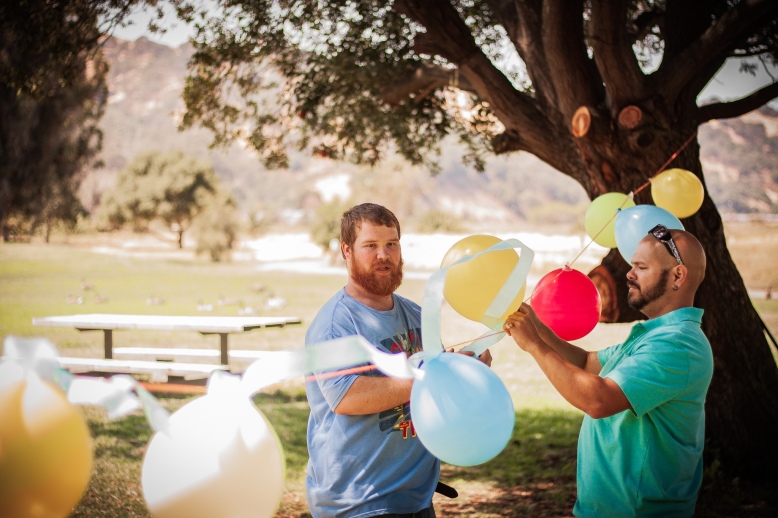
In the photo below, you can see that the subject is the guy without the sunglasses. The guy with the sunglasses is slightly closer to the camera, and since he isn’t quite in the focal range, he’s slightly out of focus. Not much of a difference, but a slight one. Now look at the balloons… The closer to the camera, the more out of focus. And the further behind the subject, the more out of focus. The hills are the blurriest as they are the farthest from the focal point. The lens I used for this shot is a Canon 50mm f1.8. It’s also referred to as the nifty fifty, which is a great bargain at $125 brand new. The camera I used was the Canon 50d, which I purchased used on ebay for less than what I paid for the powershot new. It is an older camera, but I haven’t run into a serious need to afford some of the more expensive, up to date cameras.
The settings are f1.8, ISO 100, Shutter Speed 1/500th of a second
2.) Shutter speed
Start off like this; look at an oscillating fan and shut your eyes fast. You’ll be able to see more detail of the fan just before your eyes shut. This happens because you have a fast shutter speed. You can also try this at a red light when other directions are letting cars through. Look at the rims as they leave the intersection and try the same thing you did with the oscillating fan. With very slow shutter speeds, you’ll want a tripod to reduce motion blur. This is common for night photography, as you’ll want to use a slow shutter speed to let in more light. With fast shutter speeds, there’s less need for a tripod. One exception to using a slow shutter speed without a tripod is to capture a fast moving object where you want to have the background blur. An example would be a moving car. You can pan the car with your camera and the car will be in focus and the background will blur since the car stays in frame. This takes some practice at first, but it can certainly be done.
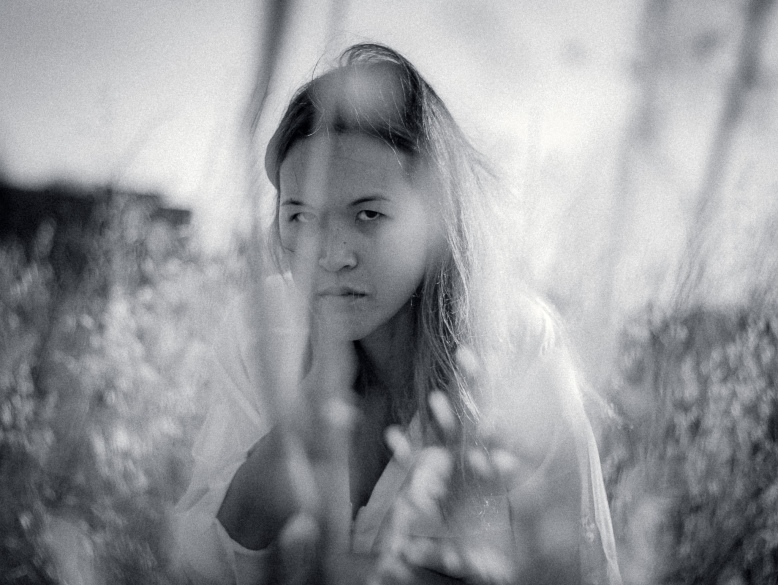
In the photo below, I used a fast shutter speed(1/250th of a second) to freeze her hair.
Ayre Berry Cherry
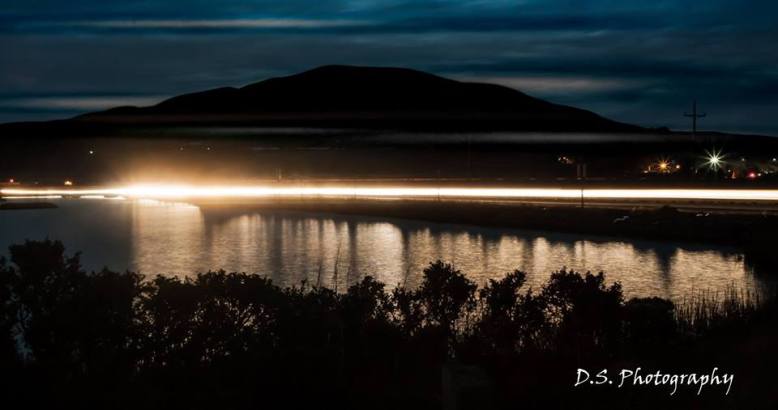
In the photo below, I used a VERY slow shutter speed of 25 seconds. So you’re seeing everything that happened in a 25 second timespan. Even though the shutter speed was so slow, the image is sharp because I used a tripod. This was about 45 minutes after sunset.
Note: My other last name starts with an “S”, hence the watermark. This was taken when I was using my other last name.
Aperture f22, Shutter Speed 25 seconds, ISO 100
3.) ISO
ISO stands for “International Standards Organization.” ISO determines the camera’s sensitivity to light. I like to use the lowest ISO possible, as with a higher ISO, you will see grain that is increasingly noticeable the higher you go. With the image above, I was able to use ISO 100 because the slow shutter speed let in enough light. I used a small aperture because of the slow shutter speed. It is not uncommon for me to get at least a little annoyed when I have to bump the ISO up to 800, or even worse, 3200 and above. There is also an h1, and h2 setting, which is 6400, and then 12800.
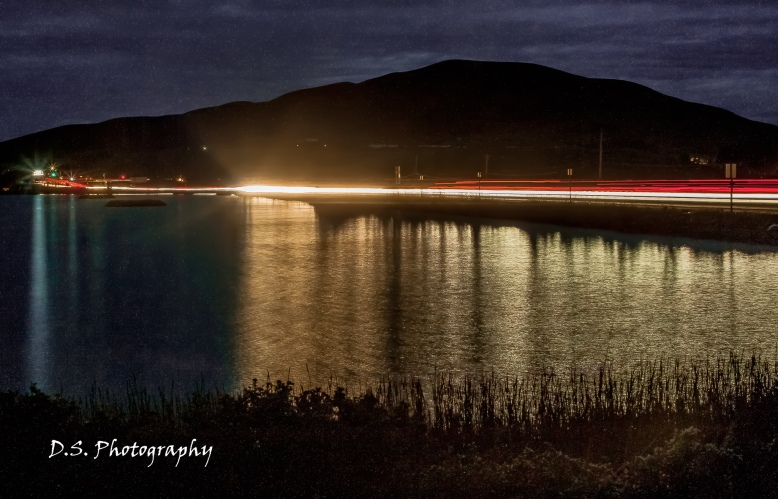
Below is an example of high ISO.
Shutter Speed 15 seconds, f22, ISO 1600(rough estimate).
So that’s it for the exposure triangle. Another important factor to consider when shooting, is white balance. This might be another reason to switch from auto to manual. If you got the exposure triangle how you want it, but your images are coming out yellow, blue, red, or other unwanted hues, you can adjust your white balance.
You usually have these options on your camera: Auto, daylight, shade, cloudy, tungsten, fluorescent, flash, custom, and Kelvin(where you can set the white balance by a temperature scale. The temperature scale isn’t determined by the actual temperature, it’s just a number scale in the camera). If you get home and notice that your white balance isn’t quite right on your images, you can adjust them in post processing. But the better you get in camera, the less editing you need to do later. On the other hand, I edit all of my photos to some degree whether minimal, or heavy.
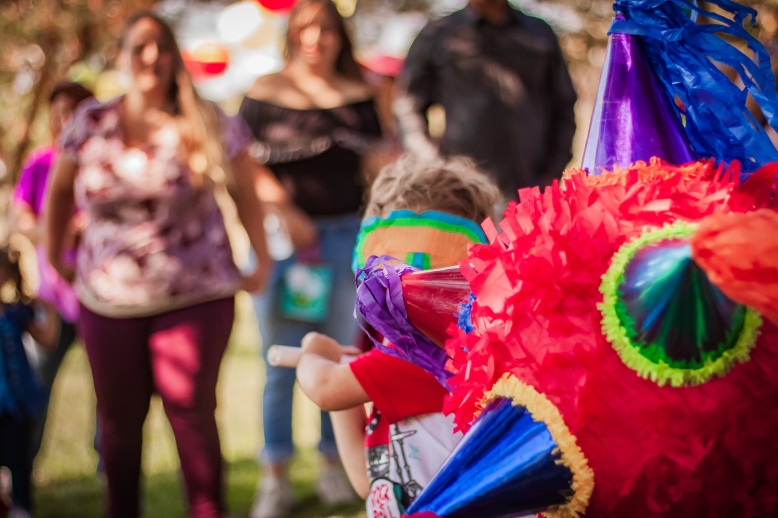
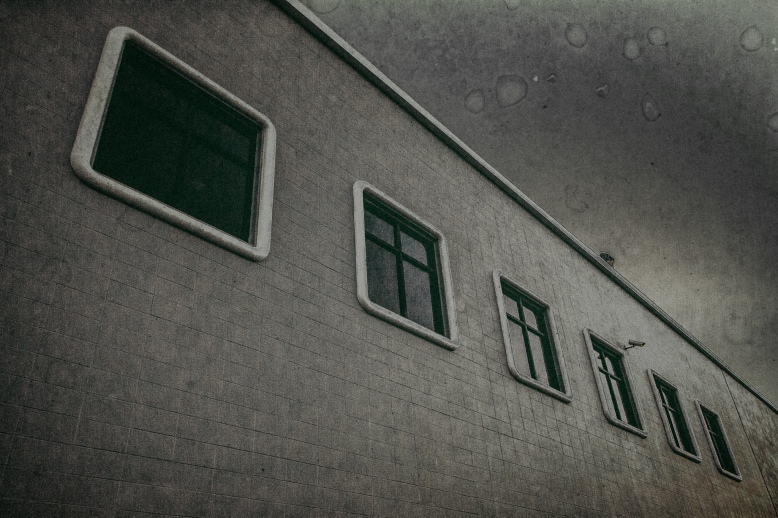
The image below is an example of heavy editing. I was bored.
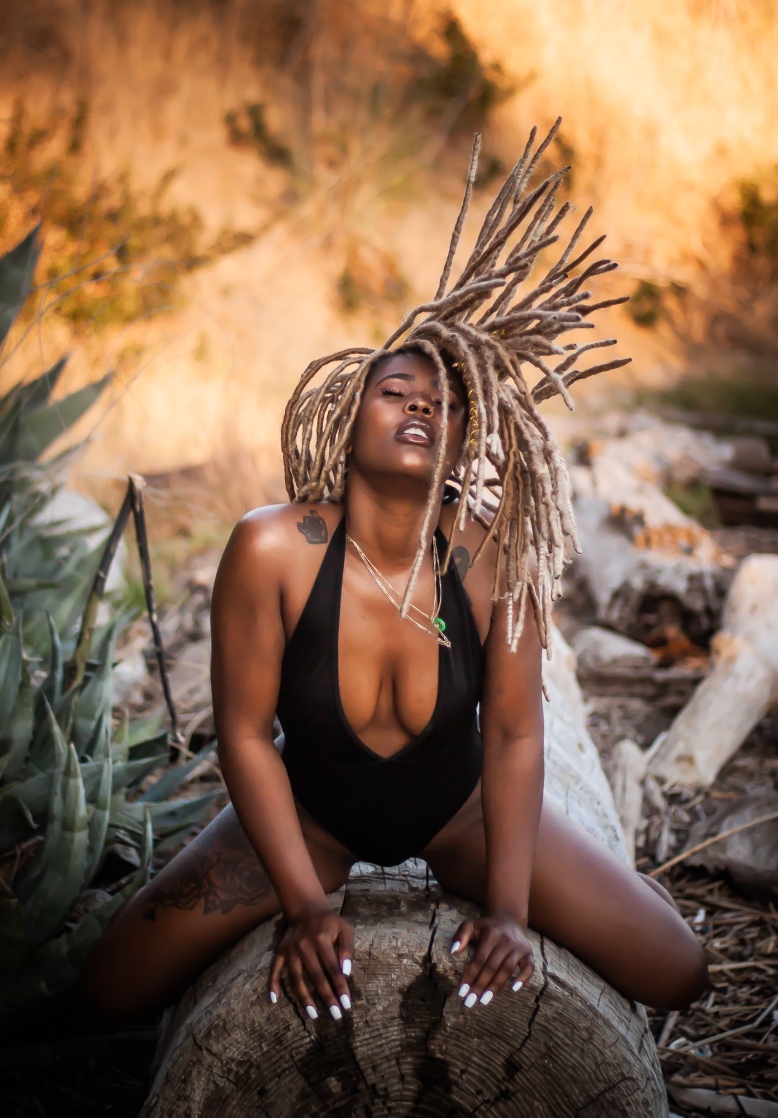
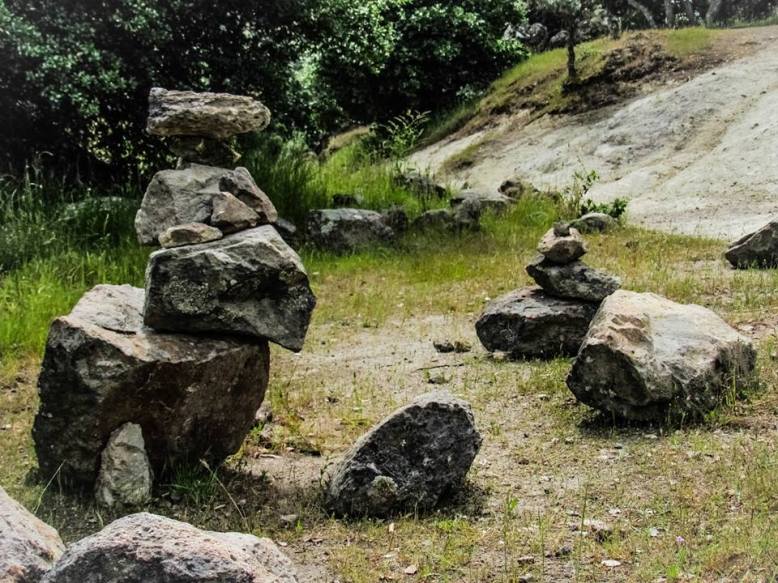
Below is an example of minimal editing…
It is my hope that this article leaves you with a better understanding of the exposure triangle, and maybe you’re considering the switch from auto to manual mode. That first week of shooting in manual frustrated me to no end. But I stuck with it, because I’m a control freak and I want things done a certain way.
Feel free to drop a comment, like, follow, share, and as always, you can ask me questions and if I know the answer, I’ll answer it. If not, I’ll do my best to find the answer.